We’ve been flat out in the workshop over the last few weeks as we soldier on with our 370Z build. With the Autosport International show just a few weeks away we’ve got a lot to do to get the car built and looking presentable before it’s unveiled on the Maxxis Tyres stand at the show in January. With the work on the shell now complete it was time for us to turn our attention to the suspension, transmission and exterior.
Having spent so much time and effort preparing the shell for its intended purpose we couldn’t wait to throw some panels on and get our first taste of how the car was going to look once completed.

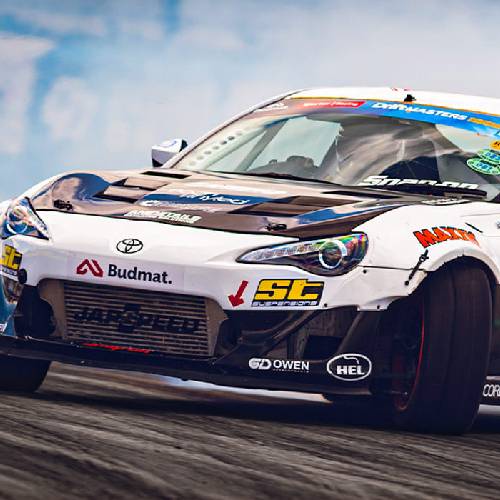
In comparison to our S15s and Scooby, the 370 is one big car! This thing is seriously wide and we’ve no doubt its presence on track will be effortless.
Moving back onto the important bits and we turned our attention back to the rear subframe. There was not a chance we were going to keep the standard rubber bushes so we drew up solid aluminium replacements for the subframe and diff and had them machined locally.

The rear diff bushes don’t feature an upper collar so as to raise the subframe 15mm and press it right up against the underside of the car. This will help to keep the roll centre and suspension arm angles in check when we slam the car.
The solid diff bushes will serve to stop the diff twisting under the immense torque that it will be subjected to and will ensure no slop gets in the way of transferring all that power through the rear driveshafts.
Before fitting it back onto the car, we of course had to treat the subframe and other underbody components to a lick of silver paint. This included the diff backplate, diff output flanges and various underbody braces.


While under the car we set about laying the foundations for the fuel setup and this is where we got to play with a seriously cool bit of kit. The ASNU Twin Screw Fuel Pump is brand new to the market and offers the performance of two Bosch 044 inline pumps within one small unit that is capable of around 600LPH. Mounted under the drivers seat, we also fitted it and the rest of the system with dry break fittings should we need to remove it or replace a filter in a hurry at an event.


In the boot we also started laying the foundations for keeping the gear box and power steering setups cool with a pair of our ten-row coolers. These will be fed by braided hoses throughout and have been hidden from view with a neat boot install that will create a high pressure system to help keep temperatures down. To aid cooling further, we have also added a small electric fan in front of each cooler to help to encourage air flow.
While the essence of the 370Z build is pure function, there are a few areas where we’ve spent a little extra time and effort to nail the finer details. Our custom front slam panel is one such item, having been water cut from 10mm aluminium.

The Team Japspeed logo is the icing on the cake on what is one of the most prominent features of the car.
It goes without saying that suspension and steering lock setups play a pivotal role when it comes to a drift car build and, as we have touched upon in our previous posts, there isn’t much available off the shelf for 370Zs. TDP visited us earlier on in the build process to take measurements of the 370’s inner arches and plot the suspension mounting points. After a few weeks of hard work back in their native Ireland they returned to our workshop with the first prototypes of their new 370Z Angle Kit.

Replacing both the front upper and lower arms along with the uprights and steering arms the prototype kit is a work of engineering art. CNC machined from billet aluminium the execution is flawless and the build quality second-to-none.

While we didn’t have any coilovers fitted to the car at the time, the steering angles on offer are astounding with approximately 65 degrees available at this early stage. While that will probably change once the car is on the floor and setup properly, the end result is certainly promising.

TDP will be making a few changes to the kits to optimise them further but so far so good!

Stay tuned for the third video installment of our build process in the next few days. In the meantime, we’ll be cracking on with the exhaust, exterior panels and paint!