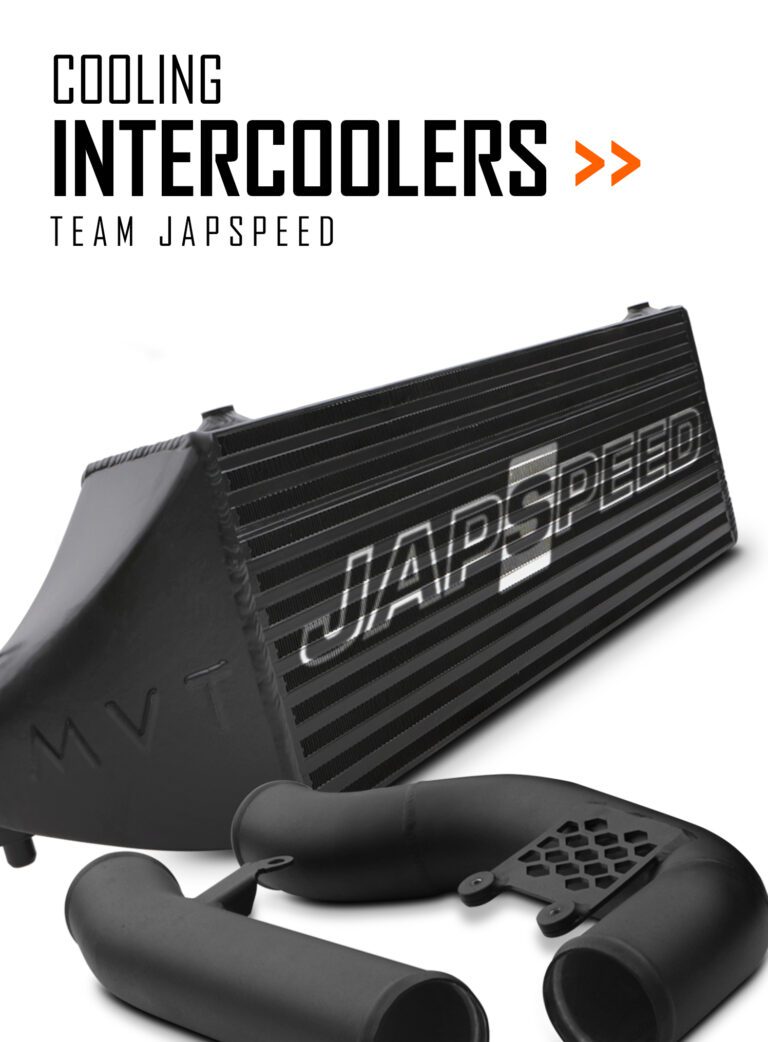
Japspeed Mitsubishi Evo 456 Front Mount Intercooler Kit
Tools Needed:
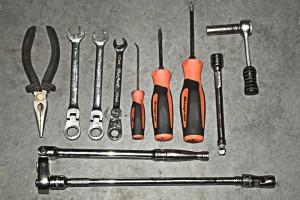
- Pliers
- Ratchet and extension bar.
- Philips style/Flat blade screwdrivers
- Spanners
Time Taken: 2-3 hours approx.
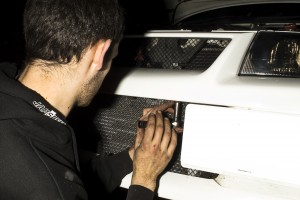
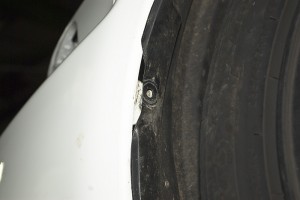
First things first, we need to start by removing the front bumper. To do this you will need to locate and remove three 10mm bolts along the top of the bumper, underneath the grille. A further two 10mm bolts also need removing where the bumper meets the wheel arch.
 |
 |
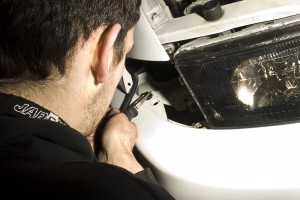
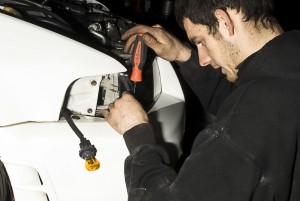
Before attempting to lift the bumper away there are a number of plastic clips underneath the front edge of the bumper and holding the weather guard in place. There are also clips under the front indicator lens. To locate and remove these you will need to remove the indicator lenses before prising off the clips with your flat blade screwdriver/pliers. You may want to jack the car up and support it on axle stands for this to provide easier access to the clips along the front underside of the bumper.
 |
 |
Finally there are four 12mm bolts located on the ends of the chassis legs which also need to be removed to free the bumper. You may find the driver side of these can be awkward to access however a long enough extension bar and ratchet will do the job perfectly.
Now it is time to lift away the front bumper and put it to one side ready for later.
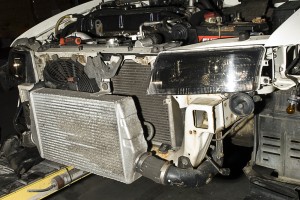
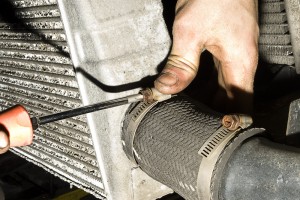
You should now be presented with your standard front mount intercooler setup which we are going to replace. From here we can begin to remove the standard pipework and core. Start by removing the boost pipe clamps with either a 10mm socket or Philips style screwdriver.
 |
 |
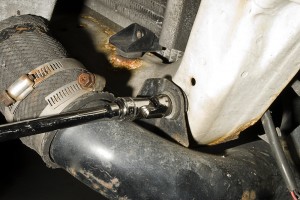
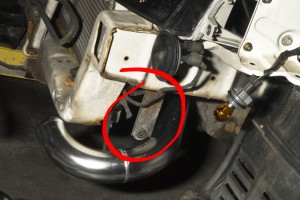
With clamps removed you will also need to remove the retaining bolts for the boost pipe brackets. With these bolts out you can now remove the bracket from the passenger side chassis leg using a 12mm socket.
 |
 |
Next we need to remove the standard intercooler core. We do this by simply removing the two 12mm retaining bolts underneath the intercooler followed directly by the top nut which is also 12mm.
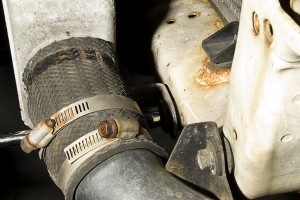 |
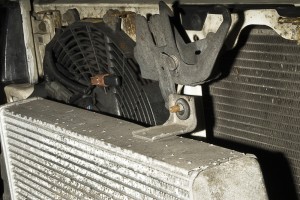 |
The intercooler should now come away from the vehicle freely. With the brackets removed you are ready to fit the new brackets and the uprated intercooler core in their place.
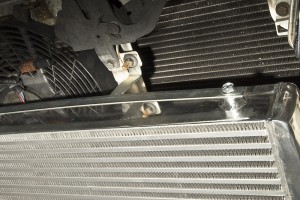 |
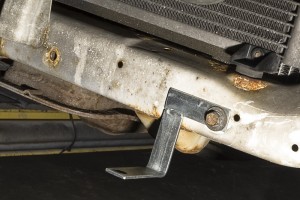 |
With the core replaced we now need to remove the standard pipework. However in order to gain access we first need to remove the air intake pipe. Use a Philips style screwdriver to do this. Take care not to damage the plug.
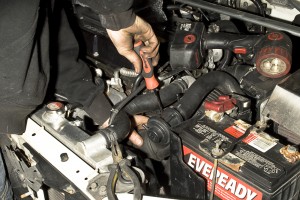 |
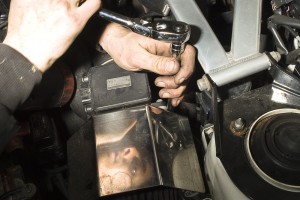 |
You should now have access to the intercooler pipework. Remove the soft pipe using your Philips style screwdriver.
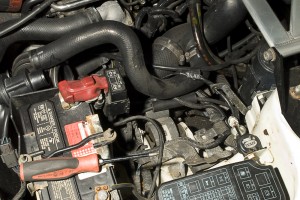 |
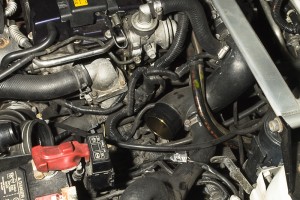 |
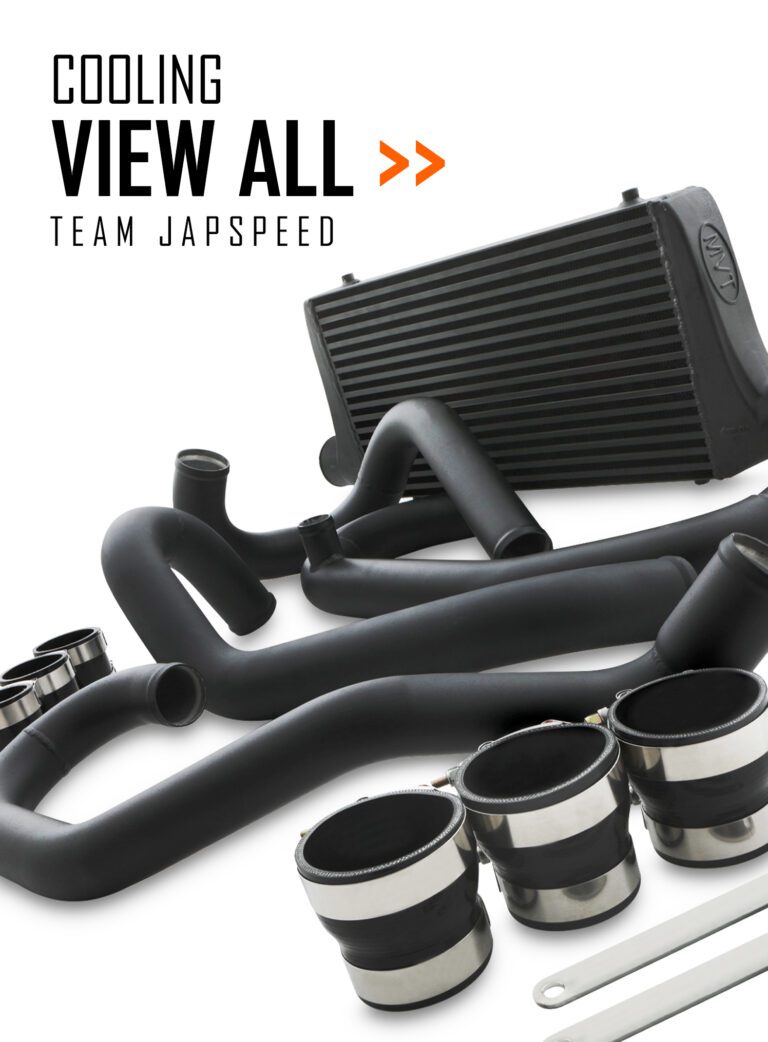
Now you can replace the standard pipes with the 2.5” bore aluminium pipes and silicone couplers provided in your kit. If you compare the replacement pipes to your standard pipework it will become apparent which pipes replace which. Tighten the clamps and your passenger side should now be connected up.
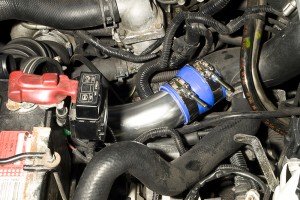 |
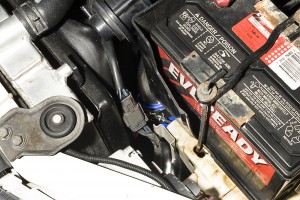 |
With the passenger side done it is time to move onto the driver side. This time you should only have one pipe to replace. Remove the standard pipe and replace with the last aluminium pipework and coupler from your kit. Having the car on axle stands will help provide access for this part.
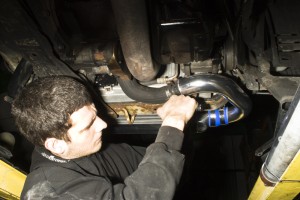 |
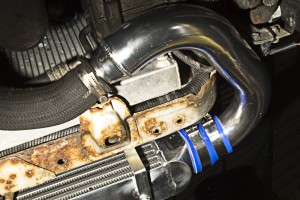 |
With the kit now fitted it is time to replace the bumper. However before we can do that there are two tabs located on the underside of the bumper which need to be cut off to allow for the larger than standard core.
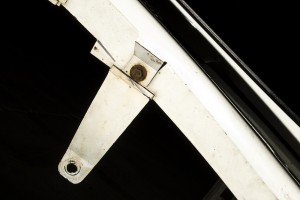 |
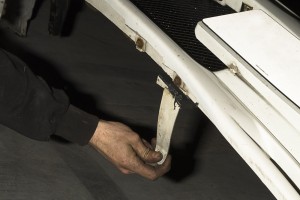 |
With that done you all that is left to do is refit your front bumper, (reversal of removal process) and enjoy your new Japspeed front mount intercooler.
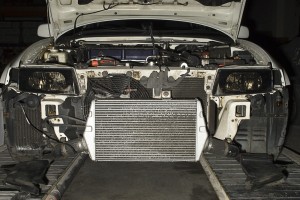 Before Before |
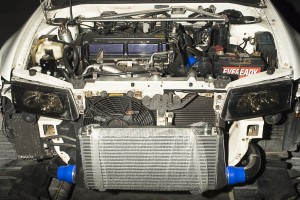 After After |


